Carbon Fiber BMW M and Mercedes AMG Wallpapers for iPhone 7 Plus Parallax Effect
Since I'm considering another European Delivery trip to get a Mercedes AMG C63S next summer I figured I might as well revise my carbon fiber iPhone wallpapers while I'm waiting. It also seems like iPhone screen sizes and parallax specs keep changing so I've revised the size based on what I found on iOS Res.
Click the images above, then right-click or drag the image to your desktop to save the files. The last image with just the carbon fiber texture is what I use for my home screen background. The logos don't look good with app icons sitting on top of them.
The images posted above are 2662 x 2662 so not quite the "max texture size" reported for iPads, but I tested it out on my 12" iPad Pro and it seems to work ok. In fact, there seems to be plenty of resolution to size and position the logos off-center if you want since the time is positioned to the top left on iPads — but you need to account for the fact that it will move when you rotate the iPad, so pick carefully.
Here are samples of what they look like on the iPhone 7 Plus and 12" iPad Pro lock screens. I made the BMW M one smaller on purpose since the resolution of the original artwork wasn't as high to keep it crisp.
RAW Tests from iPhone 7 Plus and Lightroom
Had a chance today to test out shooting RAW from my new iPhone 7. I’m kinda bummed the native Camera app doesn’t allow shooting RAW, but at least I was able to do it with Mobile Lightroom. Here’s a few examples of how you can pull out details much better with RAW than you can with standard JPEG. I’ve put the “as shot” originals either on the left or in the middle for comparison. If you’re viewing on a small mobile phone, “left” = first image.
All of these shots are done with the Telephoto f/2.8 lens. I am not running the Beta software with the Portrait setting that adds depth of field, so there isn’t much bokeh.
TIP: Click the images to view them enlarged and in the lightbox mode. You can then toggle between them using the arrows for better comparison.
#1 – IAME X30 Engine
This one is fairly basic, but you can see the highlights on the original photo on the left are blown out. The version on the right was processed in Lightroom to pull the highlights down. Because this shot was a little backlit, the engine is a bit flat, but there’s tons of dynamic range in the RAW file that allowed me to pull out far more contrast.
#2 – Aluminos Sonoma Chassis
Highlight detail is far more obvious in this one. You can see how they are totally blown out in the original on the left, but the edited version on the right shows a lot more detail and you can see the modeling of the metal.
#3 – Fisker Karma
Check out the sweet ride that showed up at the track today – I just had to snap a quick shot of it. Not the best photo, but a good demonstration of RAW. Check out the mountains that are totally gone in the original in the middle, but far more visible in both of the edited versions. Also, the shadows in the wheels were able to be brightened up using Lightroom’s Adjustment Brush feature. A JPEG would never have that much detail available to pull out, based on the original exposure.
#4 – Kyle and Zia Learning from Brett
This is a really horrible shot, but I purposely positioned the camera directly toward the sun to see how much detail I could extract. Not only was the original exposure terrible, I also did a crappy job of framing the shot so I couldn’t resist cropping for the tests. You kinda need to look at this one on a large monitor to see how the subtle gradients turned out in the sun burst.
Overall, I’m just really happy that RAW is finally available on iPhone. I’ve always shot RAW on my DSLR and although I’m about to start bloating the storage on both my devices and iCloud Photo Library, the "Optimize Storage" option on iOS devices is a nice way to keep the capacities manageable. Now, if I can only figure out how to move the RAW files out of Lightroom and into iCloud…
Comparing iPhone 7 Plus optical and digital zoom.
I'm loving my new iPhone 7 Plus, which I picked over the regular 7 size primarily for the dual camera setup. Never really been a fan of digital zooms but this one does a halfway decent job of keeping the details relatively crisp, at least up to 5x. The 10x example below shows the flaws, but isn't totally horrible.
Here's some un-retouched comparison shots done in afternoon light - with the car doors closed.
1x Standard Wide Lens (f/1.8)
2x Optical Zoom, Telephoto Lens (f/2.8)
3x Digital Zoom
5x Digital Zoom
10x Digital Zoom
Automatic Fail
I was involved in a fender bender this morning and was interested in seeing what the data from Automatic showed in terms of where the incident occurred. Imagine my surprise when I opened Automatic to find that the route that was mapped by the app was completely wrong.
Take a look. The dotted red line is the route I actually took, but Automatic logged it as having taken completely different freeways. The other interesting thing to note is that it marked B and C as the points in which the crash happened in the #4 lane (of a 5 lane highway), then I drove it off to the shoulder, just past the 5 lane. However, Automatic indicated I drove further up the freeway, took an exit, then came back to a residential area instead.
The same phenomena occurred when I got back on the freeway (from the shoulder) to resume my drive to work. Automatic showed me driving surface streets to get on the freeway, which I never did. Again, the red dotted line shows the path I actually took.
I thought for a moment that perhaps the stop on the freeway confused the app, since well, you’re not supposed to stop on the freeway so it dropped me into the residential area. However, I took another drive later in the afternoon that was routed like this:
The dotted red line is the actual path that I drove (only surface streets) to get from point A to point B. However, Automatic thought I took a completely different route, going through the freeway.
O__o
Home-made Photon Sword for Caitlin’s Kirito Cosplay.
It's not often I get the chance to spend an entire day with either of my daughters working on an arts & crafts project, so when Caitlin asked me if I could help her make a Photon Sword (think light saber, for those unfamiliar with the anime Sword Art Online), I jumped at the chance.
This is what it's supposed to look like (except the blue parts are supposed to be black):
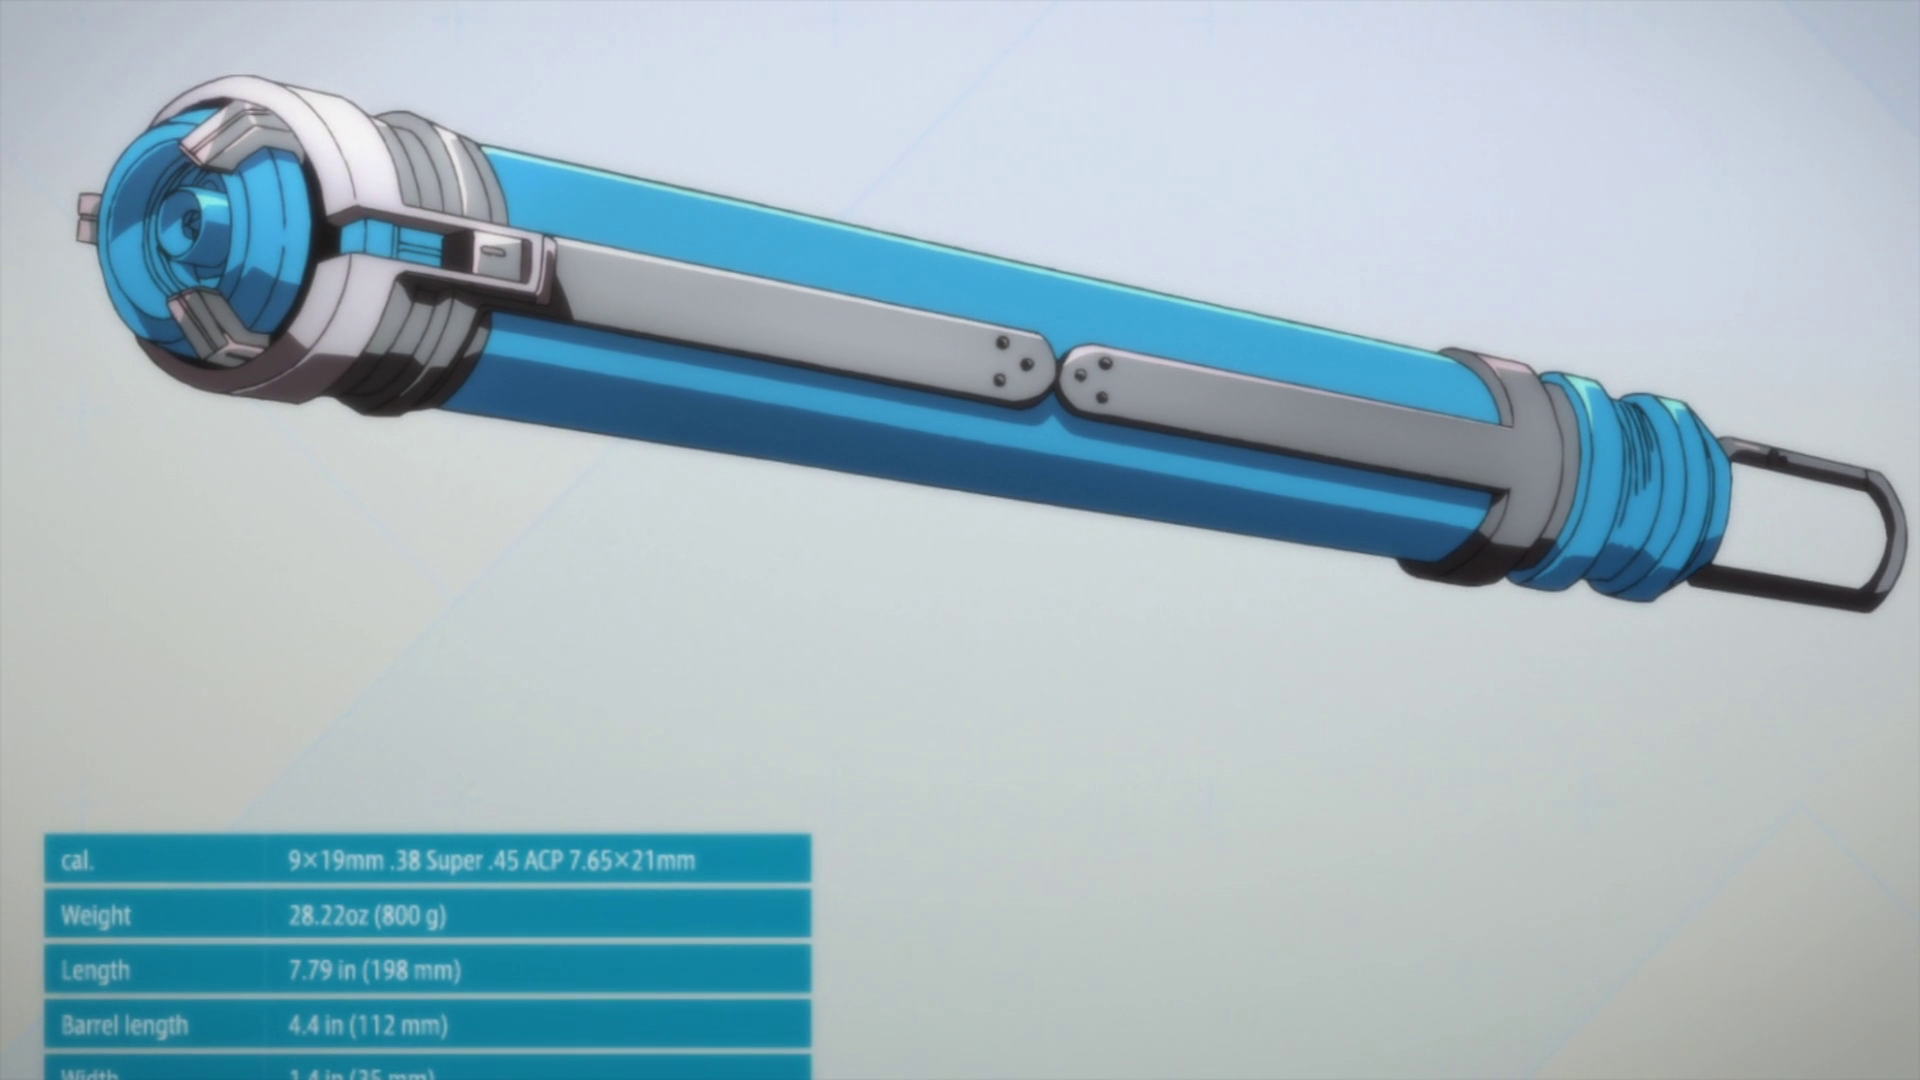
Since we don't have a 3D printer or any fancy tools at home to cut and mold shapes at home, we had to resort to found materials, especially since she needed it done in time for Kraken Con next weekend, and we didn't want to spend school nights on it to avoid interfering with homework.
We spent a good chunk of Saturday morning just walking around Home Depot looking for parts that resembled what we needed. PVC pipe was obvious, but she was pretty specific in wanting it to look as close to the real thing as possible so it took us awhile to find the things that would fit together and look decent.
Caitlin also wanted it to have a switch and be able to light up but I wasn't sure if I could do it. Seemed simple enough, but the only time I ever really built any home-made electronics with lights and switches was back in high school. Good thing I still have my soldering iron and amazingly, some solder hanging around the house. Thanks to Google and a few tips from the guy at Radio Shack, we were armed with all the necessary bits.
Here are all the parts we bought to build it:
And here's the final:
Ran into a few snags with not being able to cut PVC cleanly for the middle bars and getting the right voltage for the LED to work, but eventually got it sorted out with popsicle sticks and a lithium 123 battery. All in all, we're pretty happy with the results given the scrappy approach we took. Best part of it for me was just being able to spend the time working on something together.
Carbon Fiber BMW and M Power iPhone wallpapers for iPhone 6 Plus parallax effect
New iPhone sizes means new wallpapers. These are created at 1256 x 2353.
#tbt Newsweek iPod Nation
The year was 2004. It was about 2-1/2 years after the original iPod was unveiled, and it was beginning to change the world. It also put my ugly mug in the pages of Newsweek.
I recently came across an old photo that reminded me of this, so I thought Throwback Thursday seemed like an appropriate opportunity to document this now that 10 years have passed. Hard to believe it’s been that long already.
The July 26, 2004 cover of Newsweek featured Steve Jobs holding the 4th generation version of the iconic music player (aka the Click Wheel iPod). The article was about how the iPod became a cultural phenomena. This was a quote from him in the article:
I was on Madison, and it was, like, on every block, there was someone with White headphones and I thought, ‘Oh, my God, it’s starting to happen.’
– Steve Jobs
Inside, the opening spread for the cover story included photos of several individuals enjoying their iPods in various aspects of their lives.
This is what it looked like:
Someone look familiar? I wasn’t working for Apple back then, but I have always been a big Apple nerd and at the time, a fairly obsessed iPod enthusiast. Newsweek got a hold of me since my sister had told one of her connections there about how I had gone through the trouble of installing an iPod into my car as the primary music player. It was the first of a few mods I made to the car while I had it. This was long before auto manufacturers starting including USB ports or offering iPod/iPhone connection kits so I had to do it all myself (although I did enlist the help of a prop maker friend to laser cut the faceplate out of ABS plastic). The process was documented on my since-retired website, G35iPod.com, which also contained a message board for other enthusiasts to share their installs and swap tips. Anyone remember phpBB?
The Newsweek/MSNBC website also featured my photo on the homepage when the article ran. The site has changed a lot since then and the article seems to have disappeared, but thanks to the Way Back Machine, the original article, by Steven Levy can still be found. Unfortunately, it only archived 2 of the 3 pages of the article.
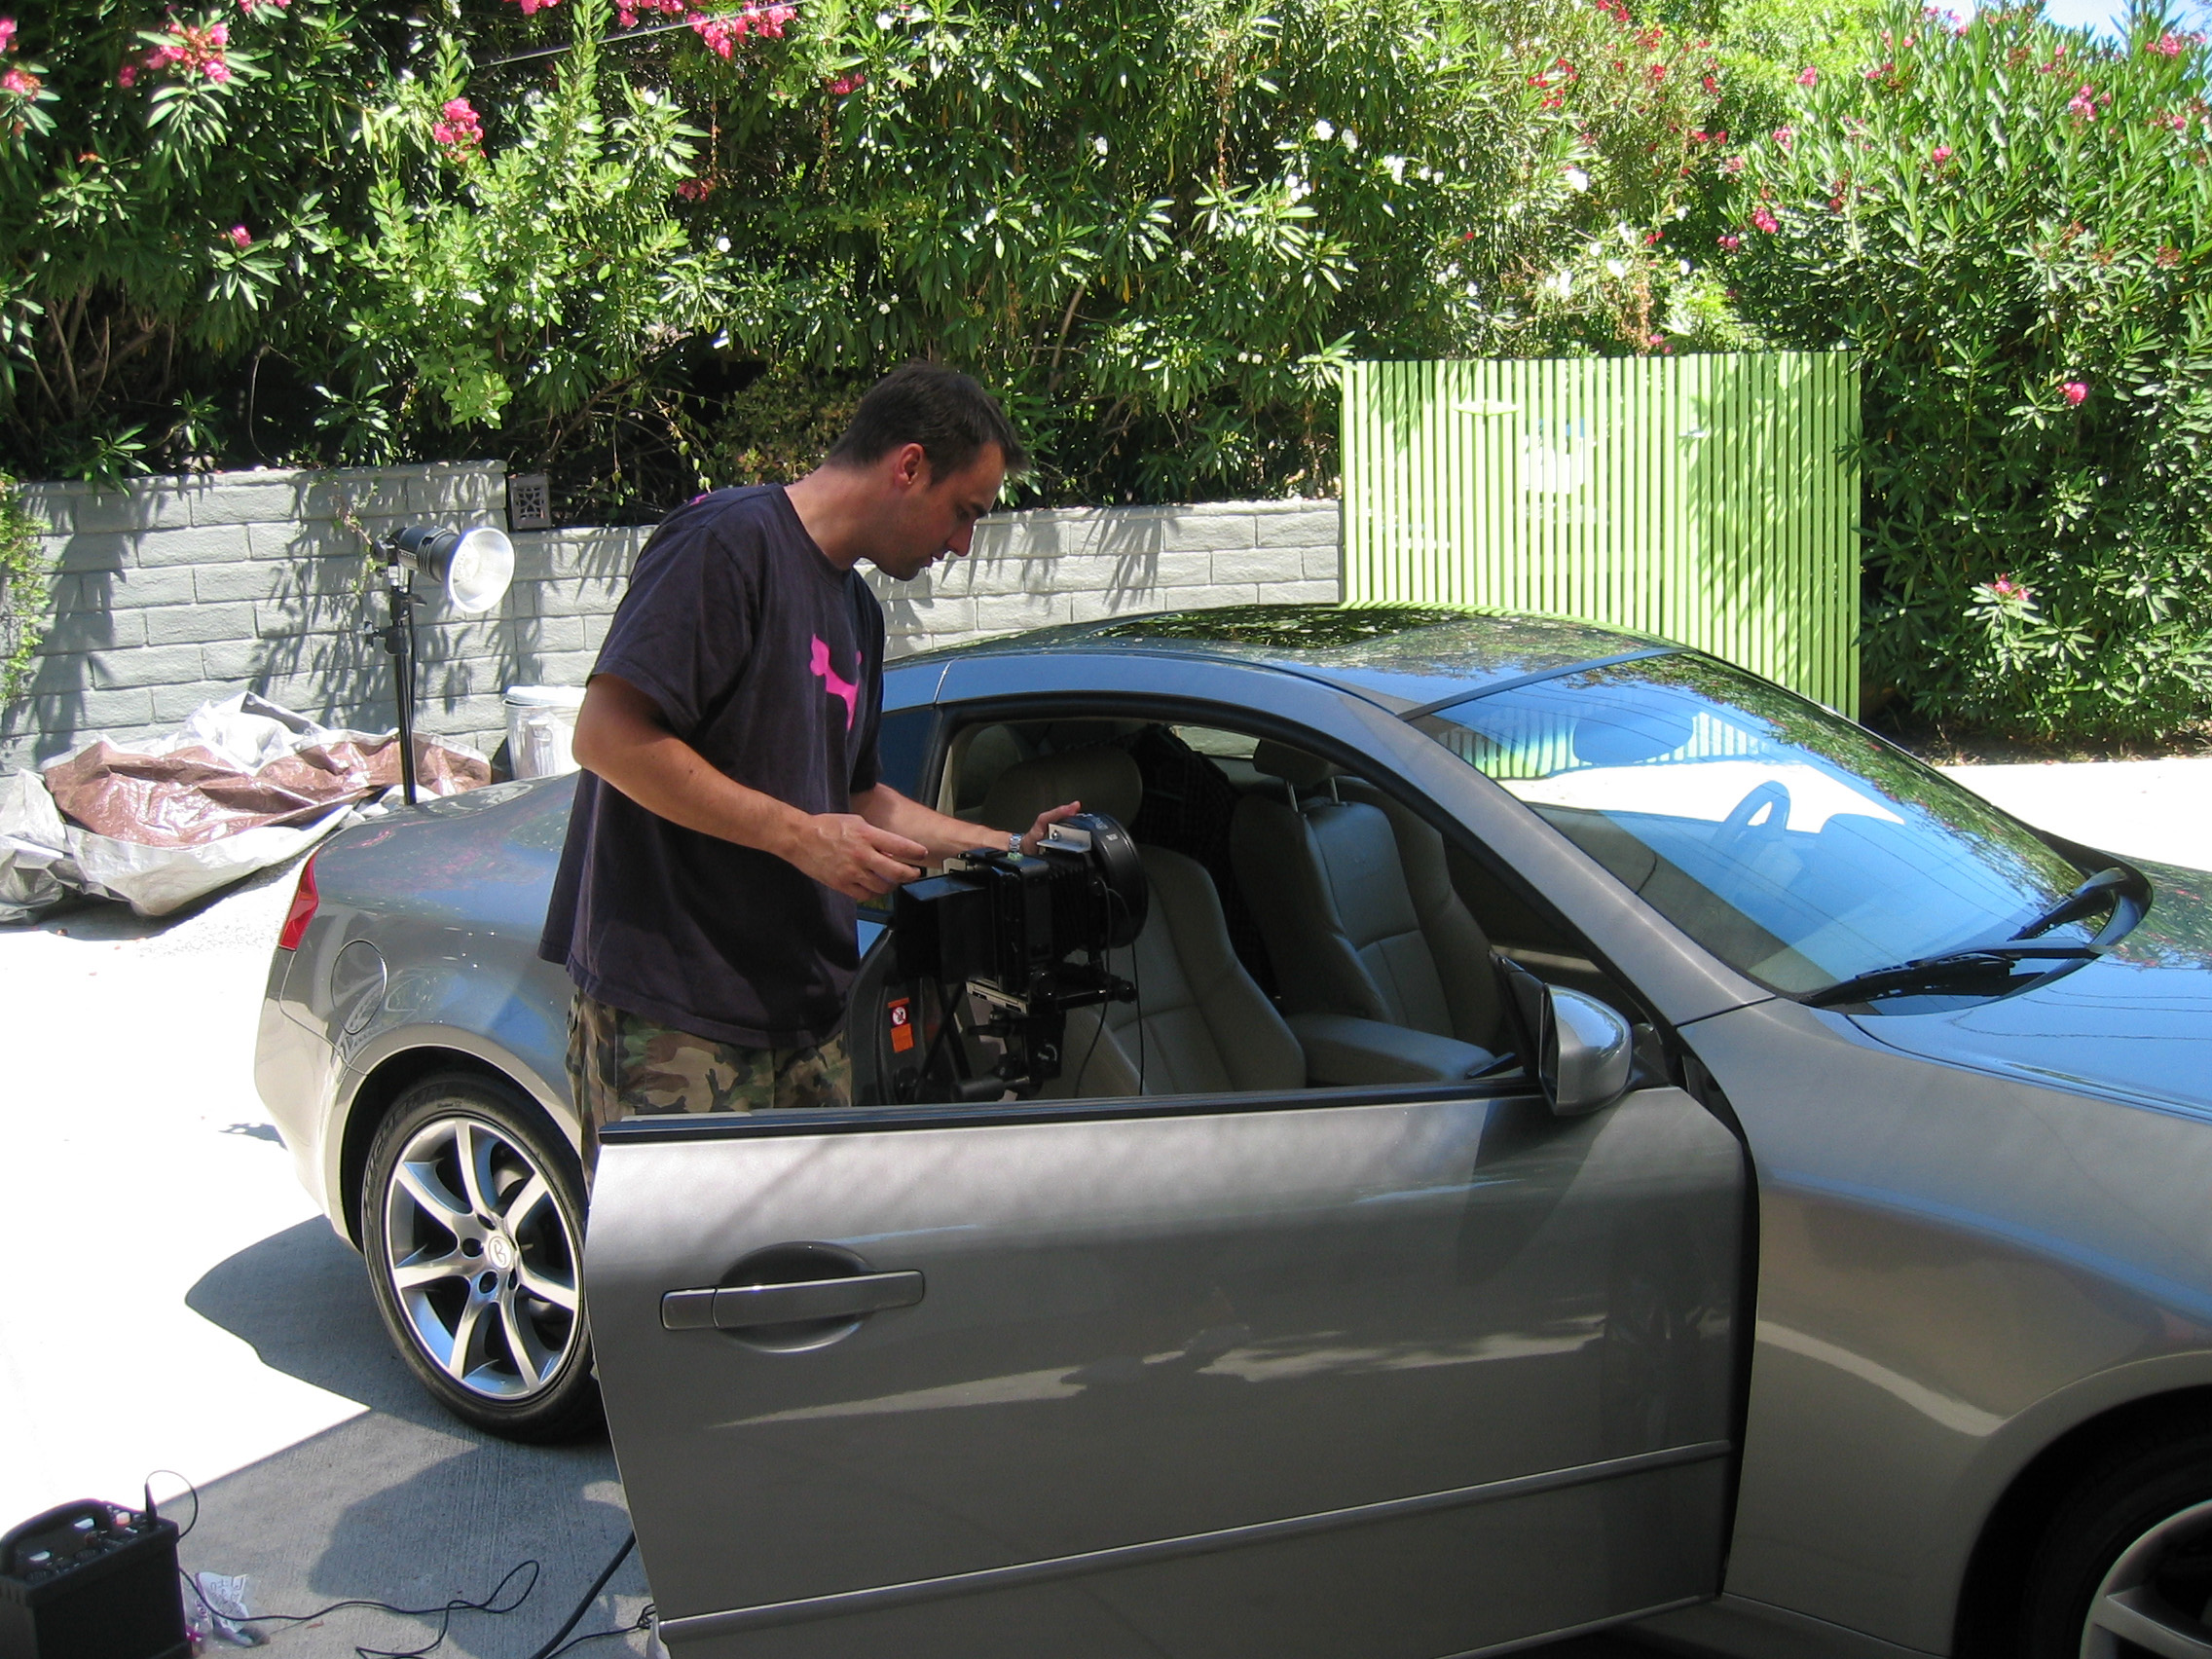
Here’s a behind-the-scenes look at the photo shoot for the article. Jeff Minton was the photographer hired by Newsweek, who I eventually also helped get hired to do some work for Yahoo! – although I had already left Yahoo! for Oakley by the time the job came through, so I didn’t actually get to work with him behind the camera.

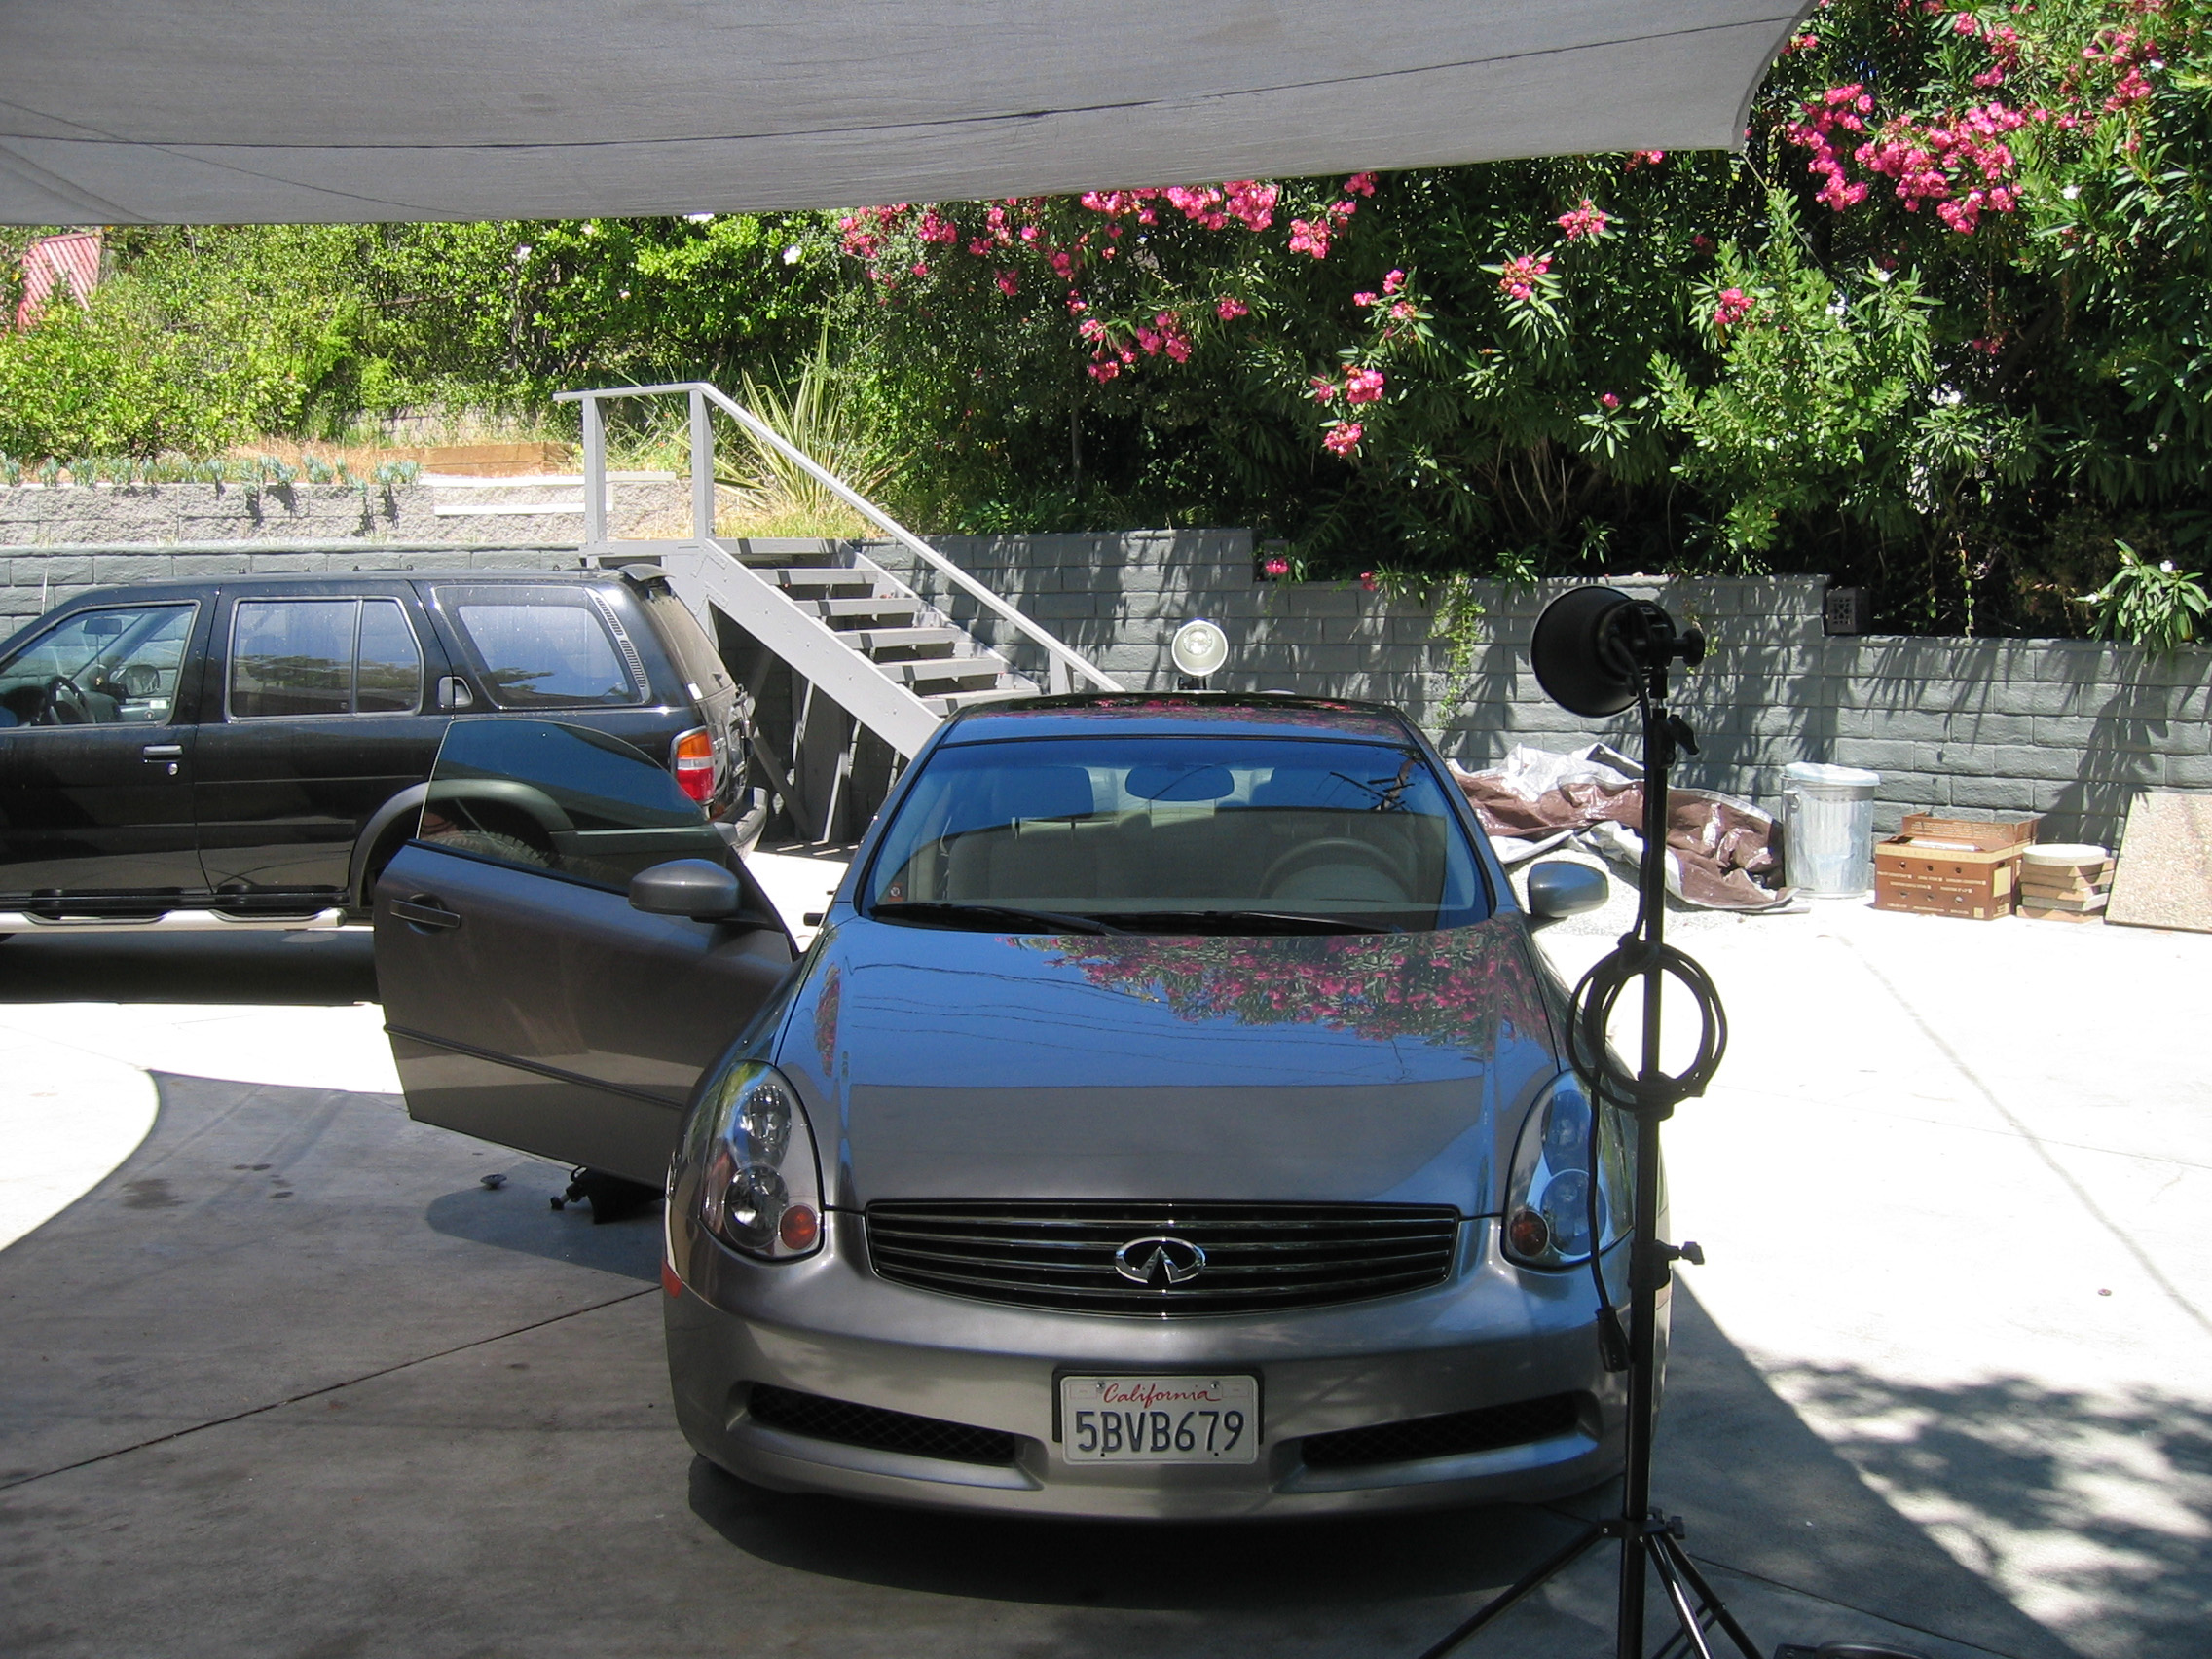
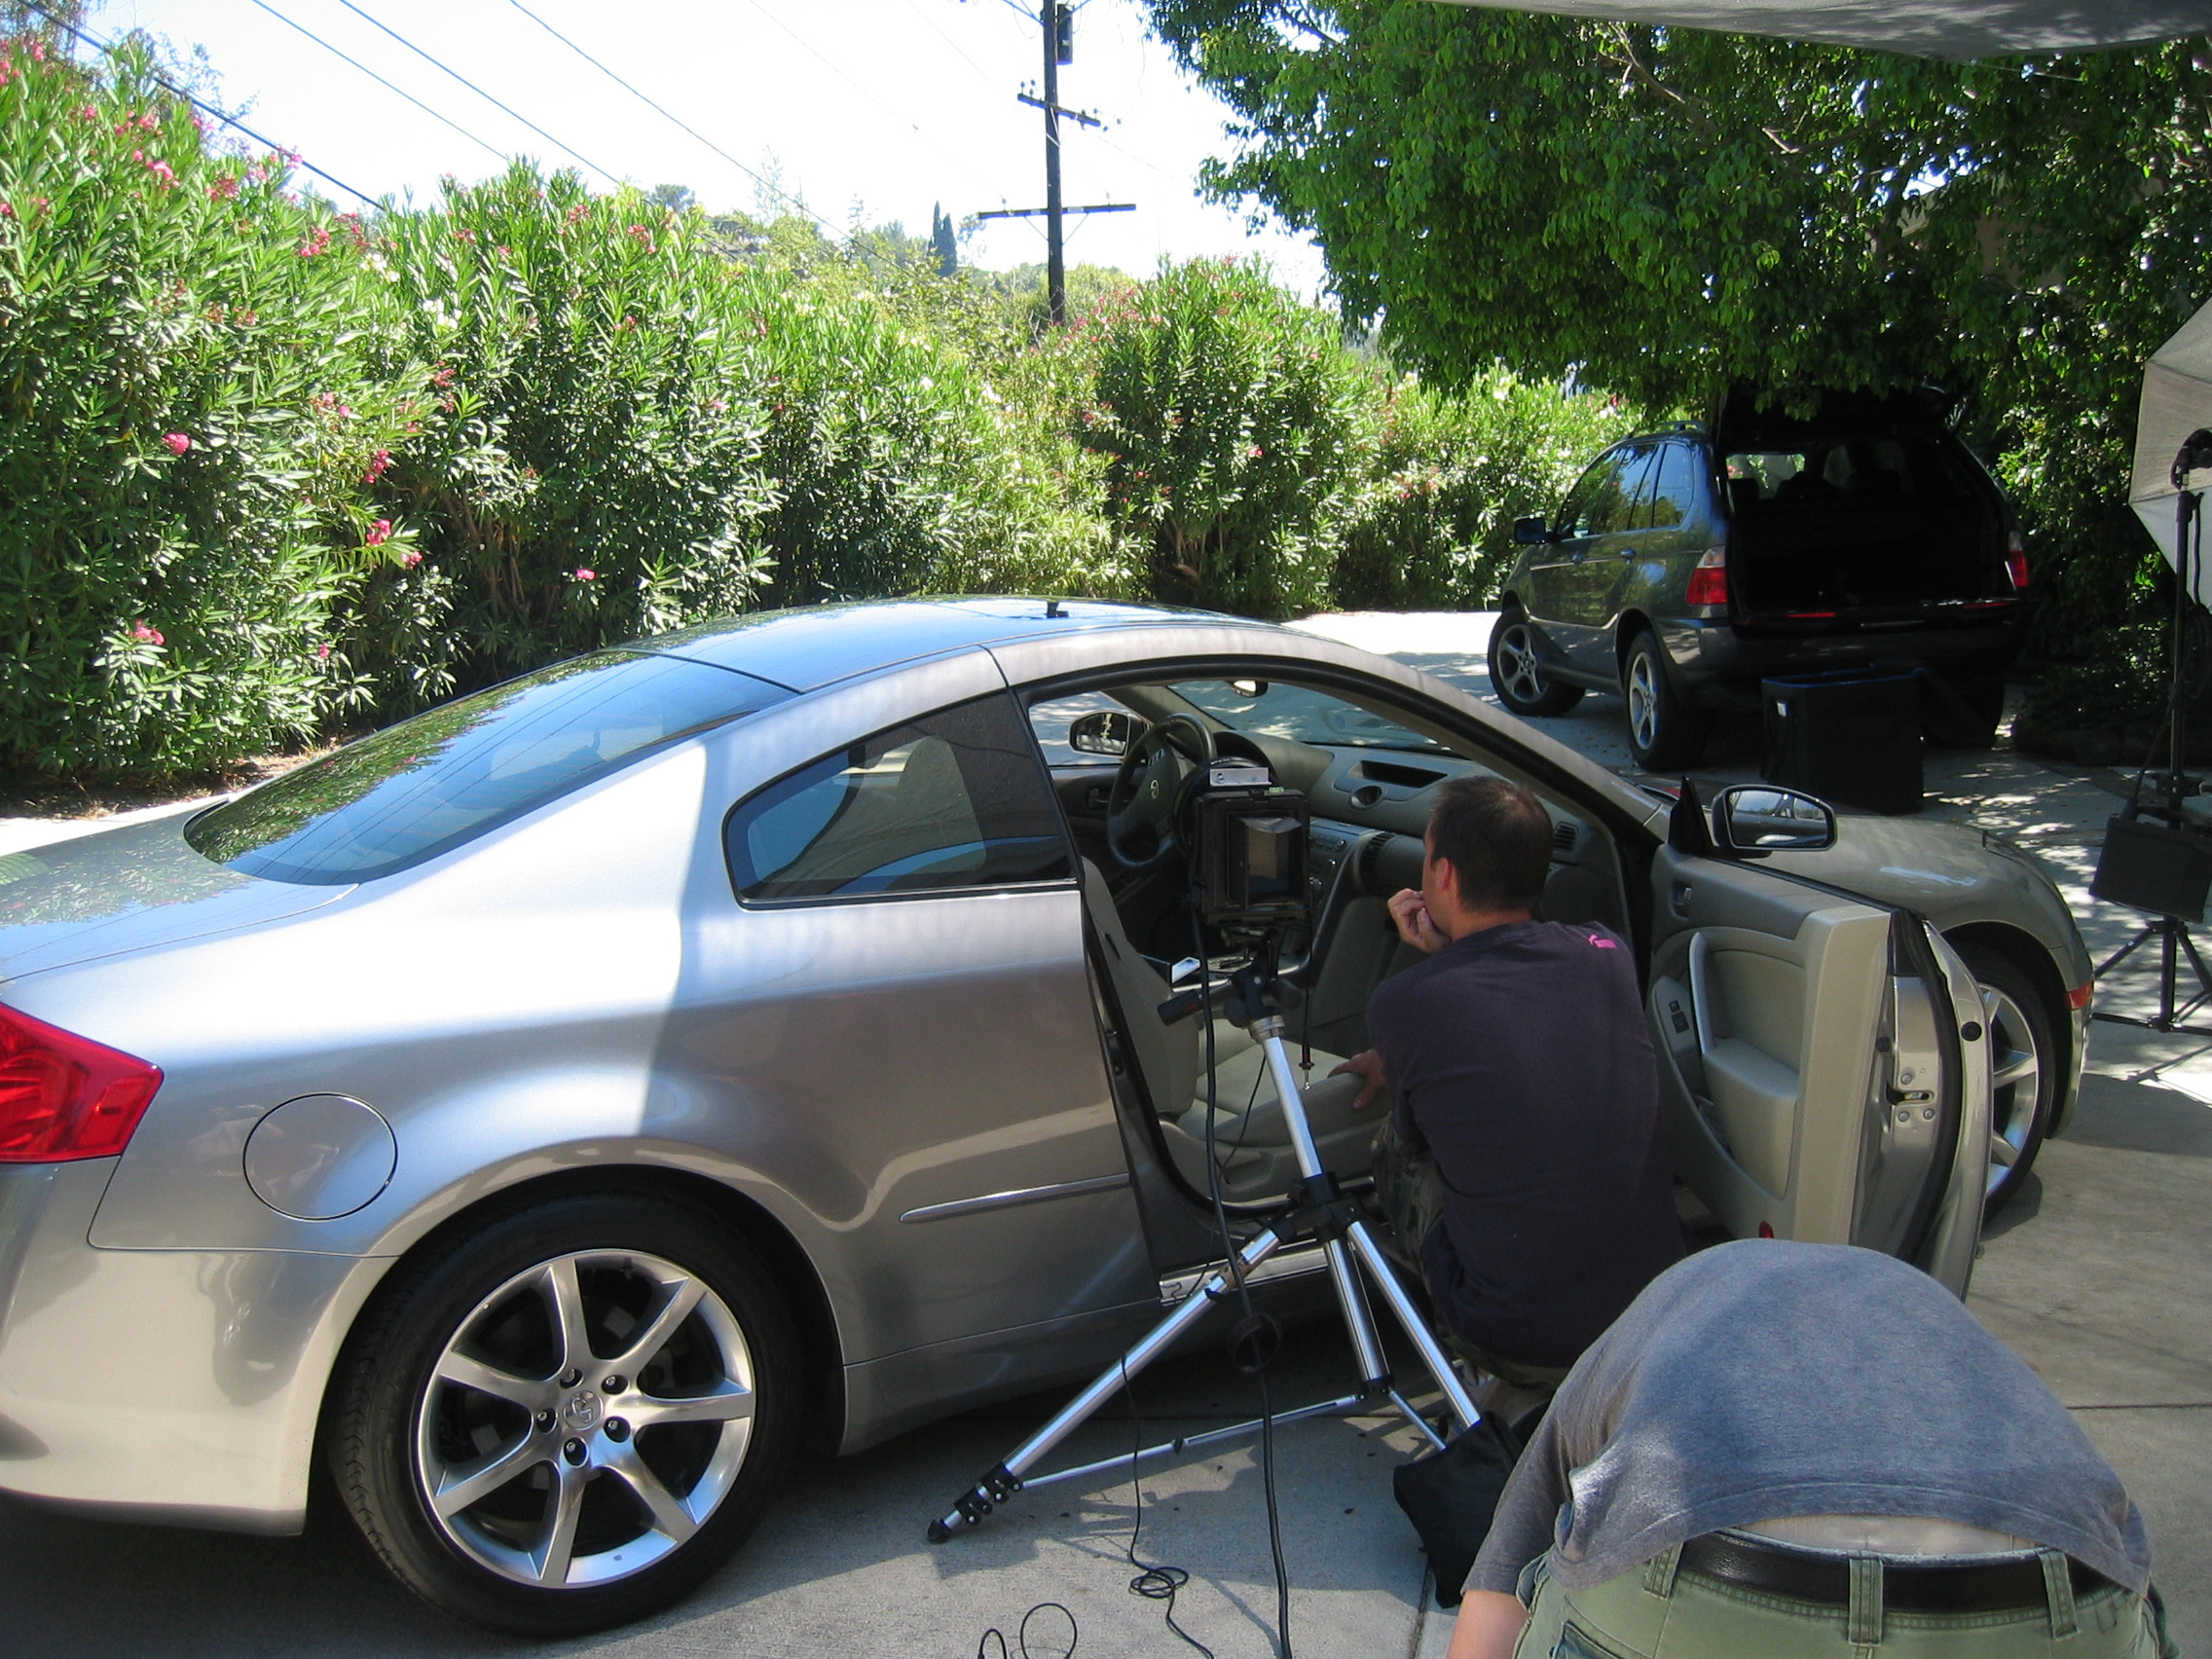
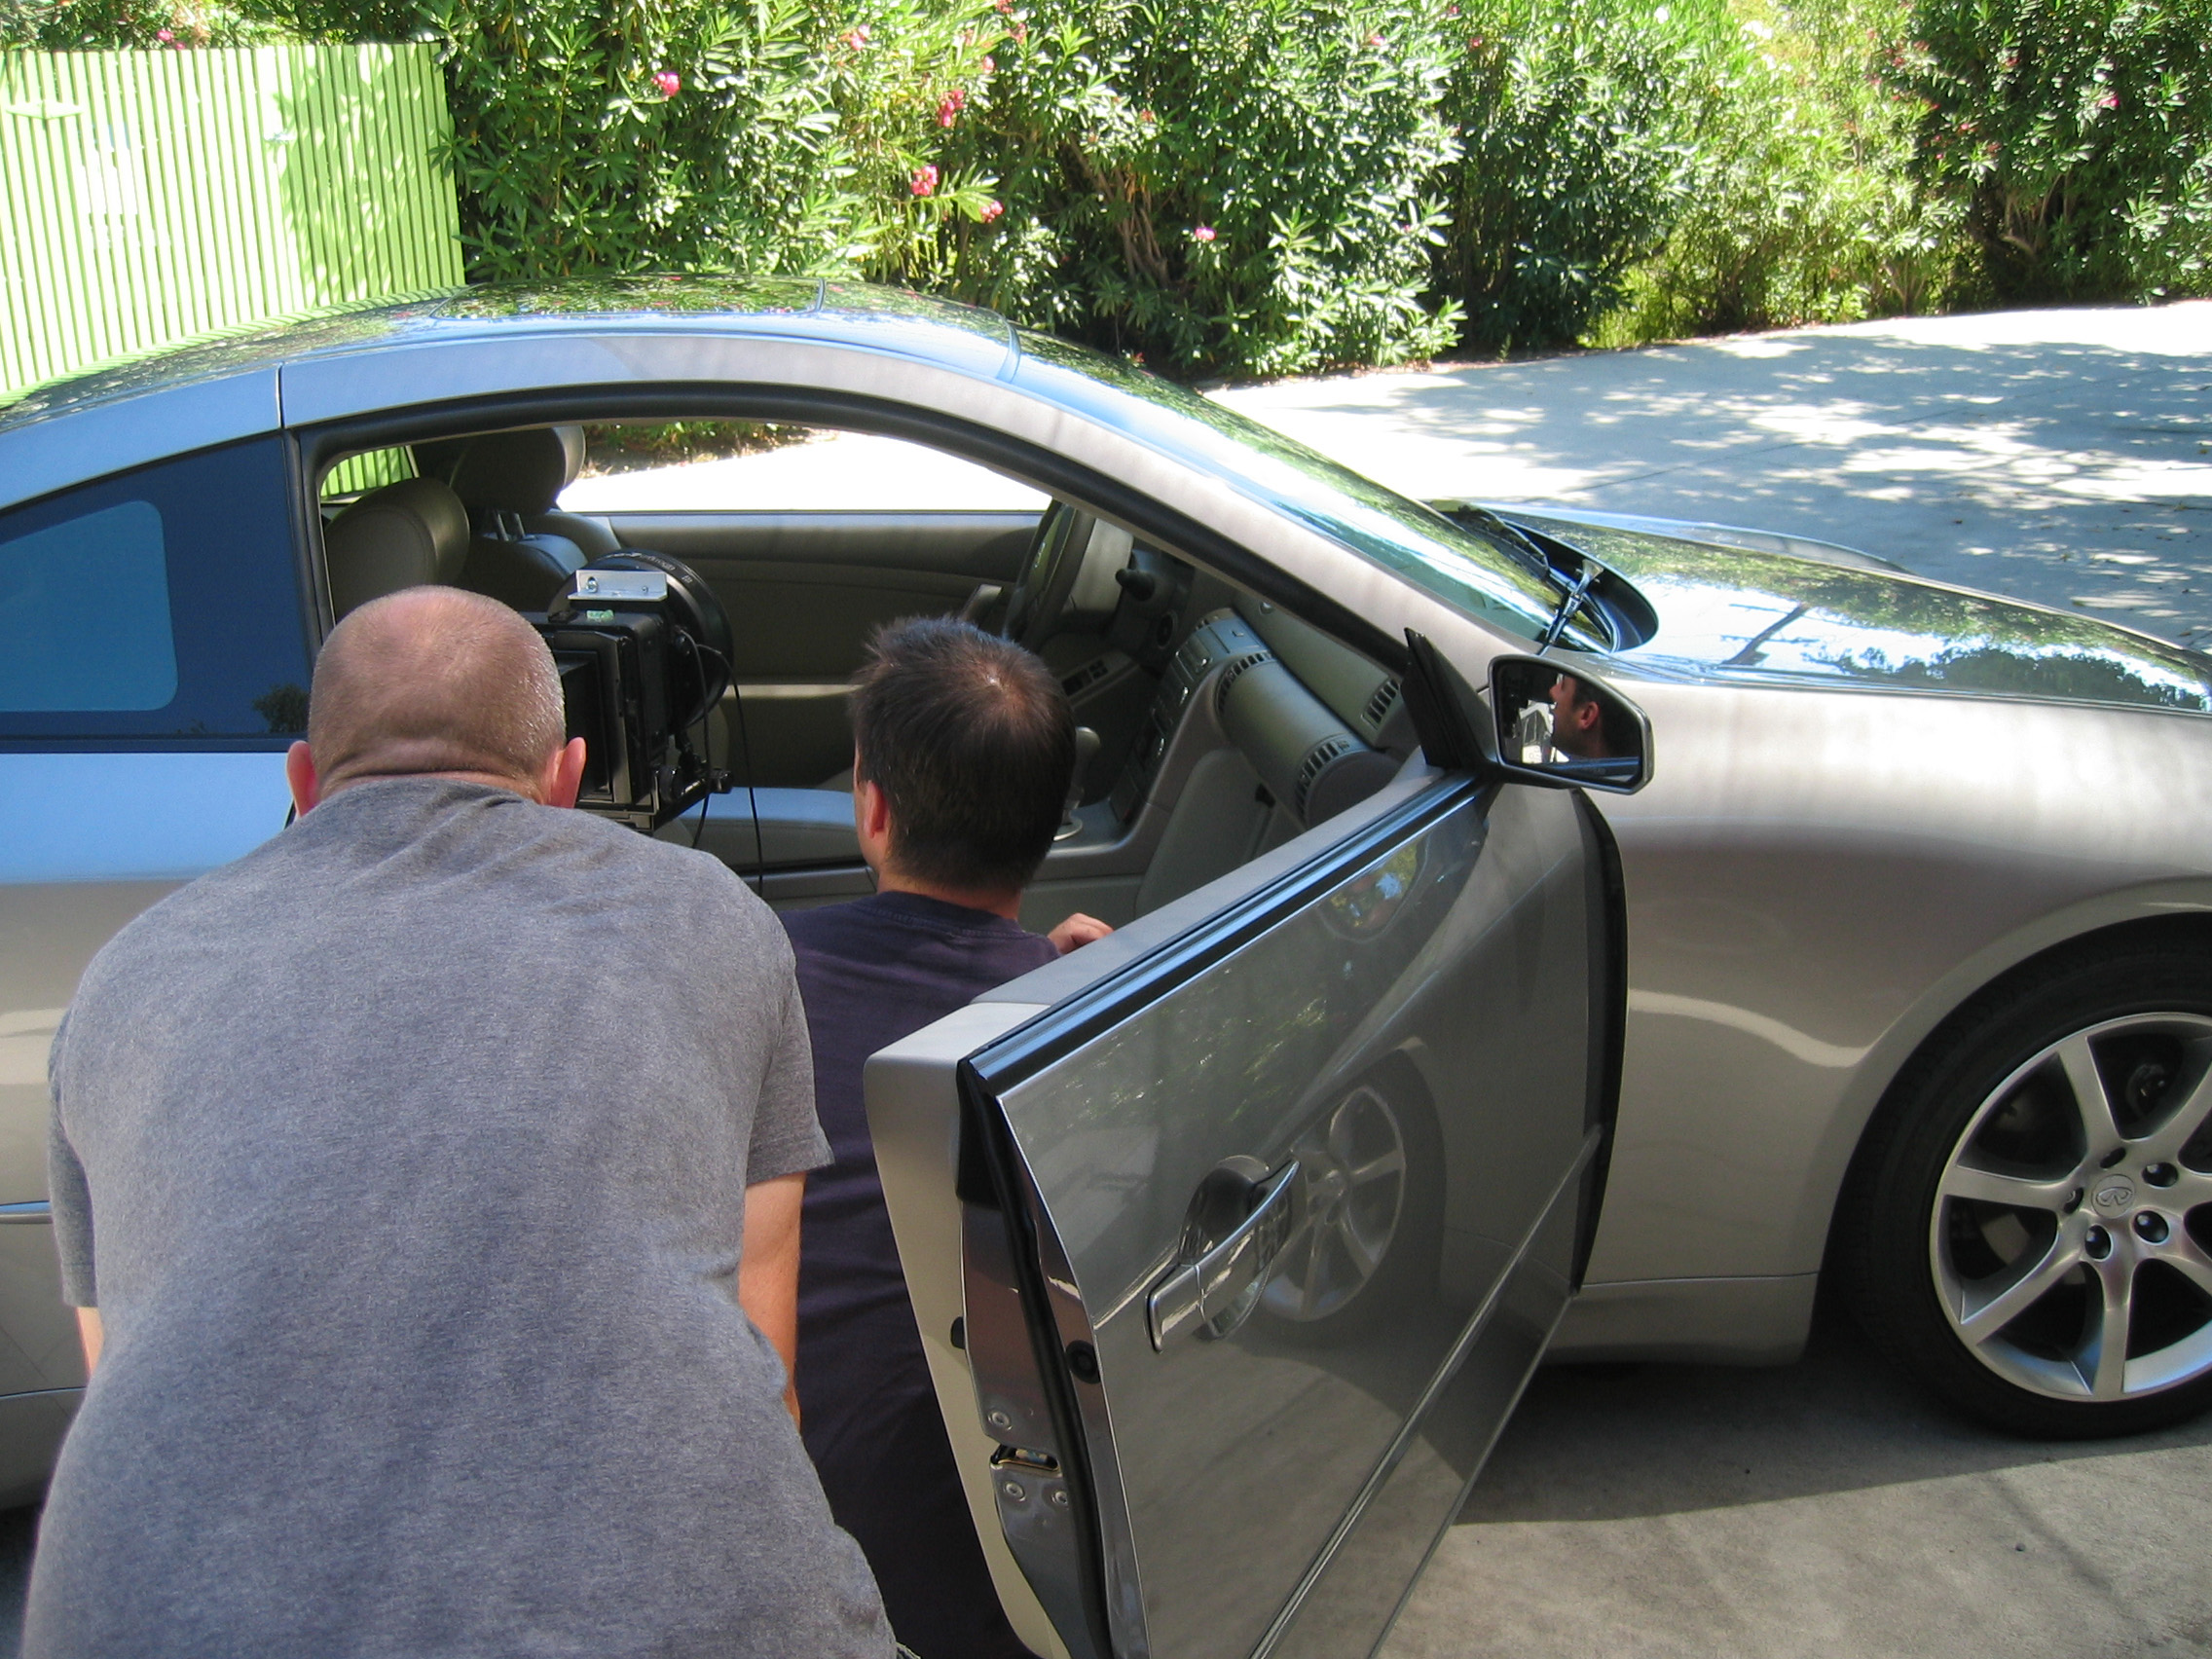

And a few more random throwback shots of the install. I enjoyed this setup for several years before I replaced the G35 with my M3, which naturally, already has a built-in iPhone connection kit integrated with the dash. More shots of the car and install can be found at on the archived website gallery.
My G35iPod site also happened to be one of the first sites I experimented with using CSS to change skins. Surprisingly it still works ok, and ironically, I had also created an Apple skin, as tribute to the company back then. That skin should help remind you of another throwback. Here’s what Apple.com looked like back then. Who could have guessed I would end up working on that same website 10 years later.
Commemorating 75 years of Batman
There was a large exhibit commemorating 75 years of Batman at Comic-Con 2014. Here’s some highlights, along with a few additional shots from around the floor.
A cleaner shot of the latest Batman for Square Enix, designed by Tesuya Nomura, the creator of Final Fantasy and Kingdom Hearts.
Some painted masks and capes at the 75th Anniversary exhibit.
Batman almost always looks better in Black & White.
But sometimes a dash of color helps…
More Photos from Comic-Con 2014
Kotobukiya had an impressive display, as usual.
I think I overheard someone say there were about 1000 Storm Troopers in this setup.
A few miscellaneous shots from around the floor. Mystique, the Ring Wraith and Lurtz, leader of the Uruk-hai were some highly detailed, life-sized statues from the Profiles in History booth.
Deadpool, by Kotobukiya
More Batman, in case you didn’t already get enough.
Random Comic-Con 2014 Photos
Came across some pretty cool things at Comic-Con today. In particular, this Monkey King sculpt was really impressive. The detail was just incredible. I also continue to be impressed with how well the iPhone 5s can take pictures. Some credit goes to Snapseed as well, for really simple and powerful “on-the-go” photo editing features.
This next one is from Sideshow’s Court of the Dead. They had a very nice booth that was isolated from crowds on either side and had great art and displays around each sculpture so photos came out much cleaner without glass reflections everywhere and people in the backgrounds.
What Comic-con image gallery would be complete without some Batman, Iron Man and Hulk. The last two in this set are Kat from Gravity Rush, which Kyle recognized since she’s from a video game he had played on his PS Vita. He was also quick to point out that her constant high-pitched wailing in the game is very annoying.
And then there’s…Vader’s car…
